How to Capture a Time Sheet
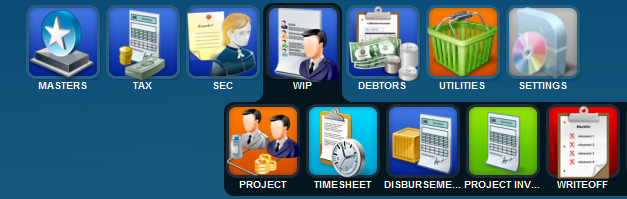
1. Select WIP - Time Sheet on the menu as follows
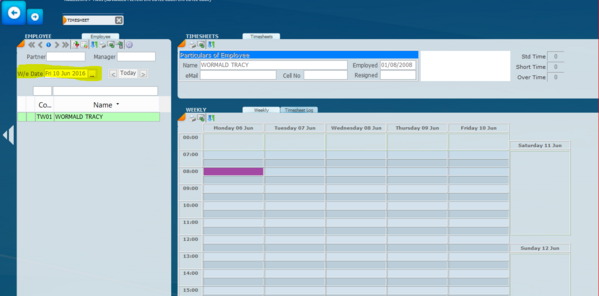
2. Select the Week Ending Date that you wish to capture time for
As Highlighted in yellow below
3. Select the employee that you capturing time for
As Highlighted in green below
4. Double click on the time block where you wish to enter time for
As highlighted in purple below
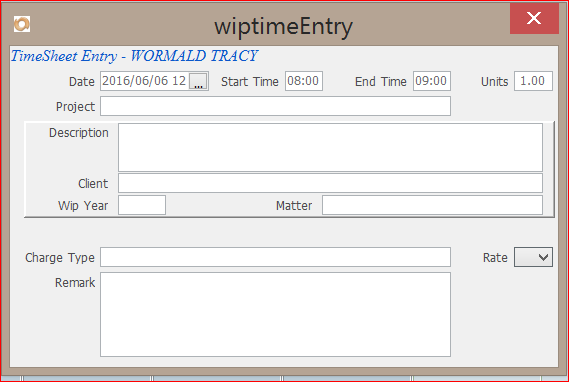
5. A new window will popup as follows
6. Click on the end time and select when the job ended,
If you wish to enter any time other than the half hour interval,
Then type over the time as indicated as 09:00 above
The units will calculate automatically based on start and end times
7. Enter the project name, which is normally the client code and year
As you type the client code, a list will appear for selection
The description, client, year and matter of the project will display automatically
8. For Non chargeable time or leave, DO NOT enter any project info, leave this blank.
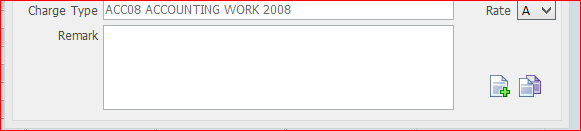
9. Enter the charge type, which is the job code for Projects or Overhead code for non-chargeable/leave.
As you enter the code a list will display allowing for selection
10. The rate will automatically default to ‘A’ for chargeable time and ‘O’ for non-chargeable time, when you tab off.
11. Under remark type in any additional info that pertains to this time entry.
This field is unlimited
12. When complete, click on the red cross at the top right.
OR
13. At the bottom right there will 2 new icons displayed as follows
14. Click on the new icon, to create a new entry from here, which will automatically complete the time as from the last entry
15. Click on the duplicate icon to duplicate this entry with new times, but all else the same which you can edit and change accordingly