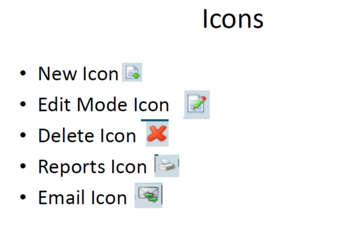
Before loading/editing a client on the system it is important to make yourself familiar with these icons as they will be referenced throughout the software:
Go to main menu click on Masters>>Client:
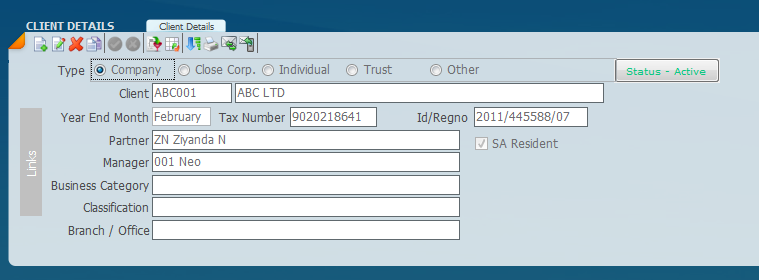
The following screen will appear
At the top right panel labelled details
Click on the new icon to create a new entry. Then fill in all the relevant information.
You need to setup the Partner and Manager so that you can select it when creating a new client. On steps to setup a Partner/Manager follow the steps In this article: Partner Manager and Other Sort fields (accfinsky.co.za)
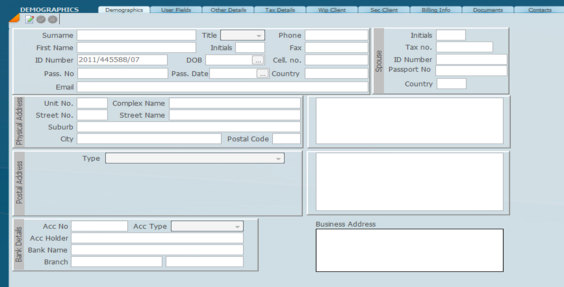
Then you go to the bottom panel to the Demographics Tab. Click on edit to fill in the information.
Make the necessary changes and then click on the Green tick to save.
Then proceed to the Other Details tab. Click on edit and fill in the relevant information.
Make the necessary changes and then click on the Green tick to save.
Then you go to the Tax Info tab to activate your client as a tax client. Click on new and fill in the relevant information as it pertains to that client.
Make the necessary changes and then click on the Green tick to save.
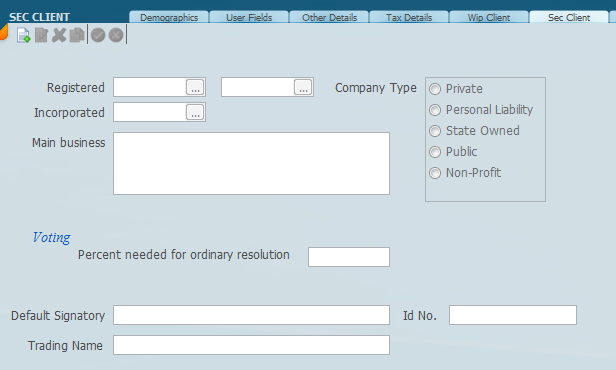
Then you go to the Sec Info tab to activate your client as a secretarial client. Click on new and fill in the relevant information as it pertains to that client.
Make the necessary changes and then click on the Green tick to save.
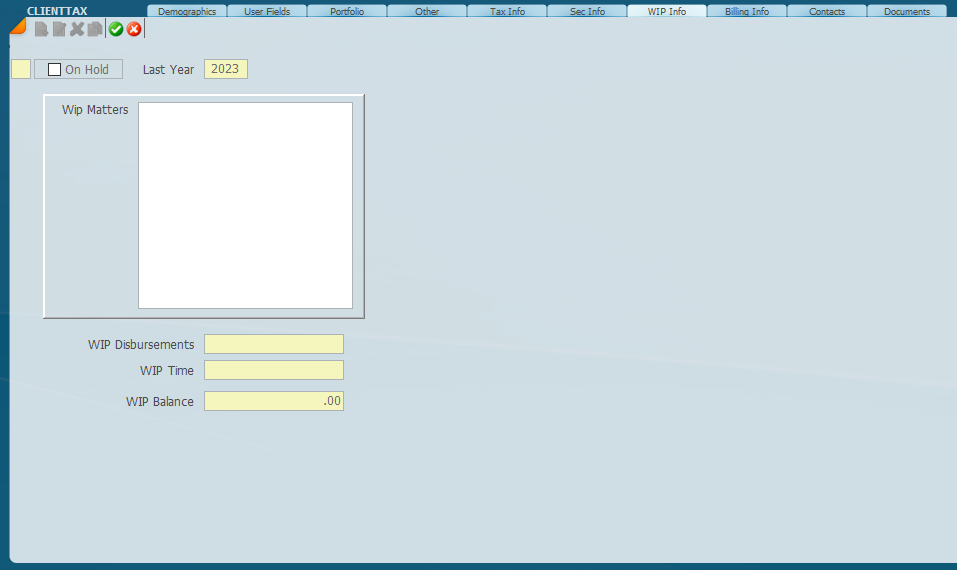
Then you go to the WIP Info tab to activate your client as a WIP client. Click on new and fill in the relevant information as it pertains to that client.
Make the necessary changes and then click on the Green tick to save.
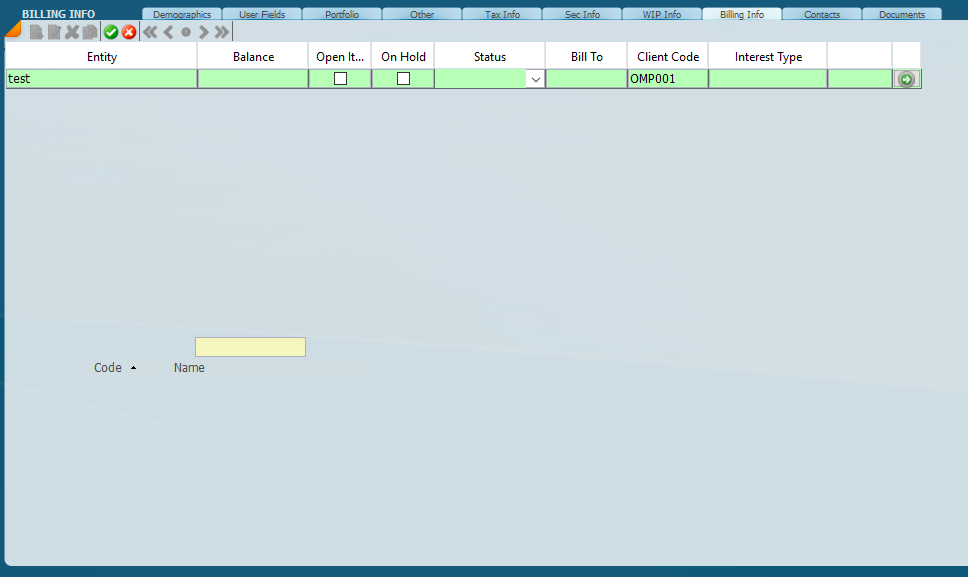
Then you go to the Billing Info tab to activate your client as a debtor’s client. Click on new and fill in the relevant information as it pertains to that client.
Make the necessary changes and then click on the Green tick to save.
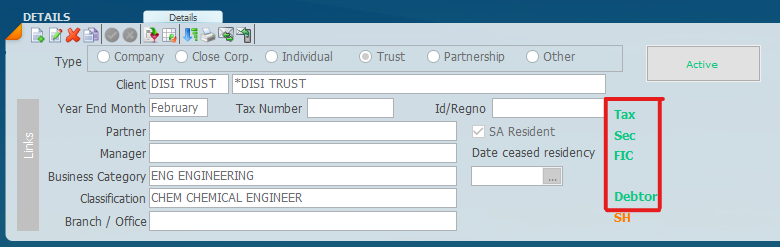
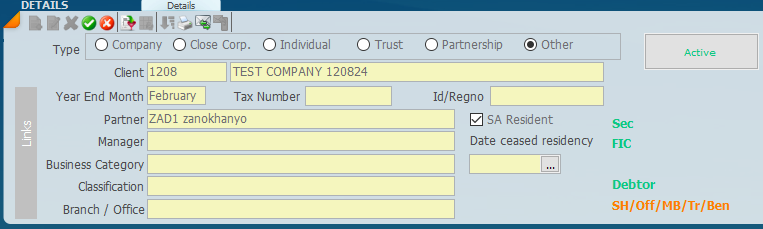
By Creating a record under the Tax Info, Sec Info, WIP Info and Billing Info will tag them for these modules, this can be seen under the Clients details as those modules will appear in green.
How to edit existing clients
The second icon to the left (under the words Client Details) which is
depicted to the left of the new button will allow you to edit the record. All the items that you are able to change will change to yellow as depicted on the screen below. It is then just a question of going to the fields that you want to change and making the necessary changes.
Make the necessary changes and then click on the Green tick to save.
If you wish to abort the changes click on the Red X.